Create an Account
Welcome to Kigana, a comprehensive childcare management platform designed to streamline administrative tasks and enhance communication in your childcare center. To get started, you need to create an account on Kigana. This help article will guide you through the process of creating an account on Kigana using a web browser, as well as on the Android and iOS apps.
Creating an Account on the Android and iOS Apps
Step 1: Download and Install the Kigana App
- Open the Google Play Store (Android) or App Store (iOS) on your mobile device.
- Search for "Kigana" in the search bar.
- Locate the official Kigana app and tap on it.
- Click on the "Install" or "Get" button to download and install the app on your device.
Step 2: Launch the Kigana App
- Once the installation is complete, locate the Kigana app on your home screen or app drawer.
- Tap on the app icon to launch it.
Step 3: Navigate to the Account Creation Page
- On the Kigana app's welcome screen, you will find an option to create a new account.
- Tap on the "Create Account" or "Sign Up" button.
Step 4: Fill in your Login Information
-
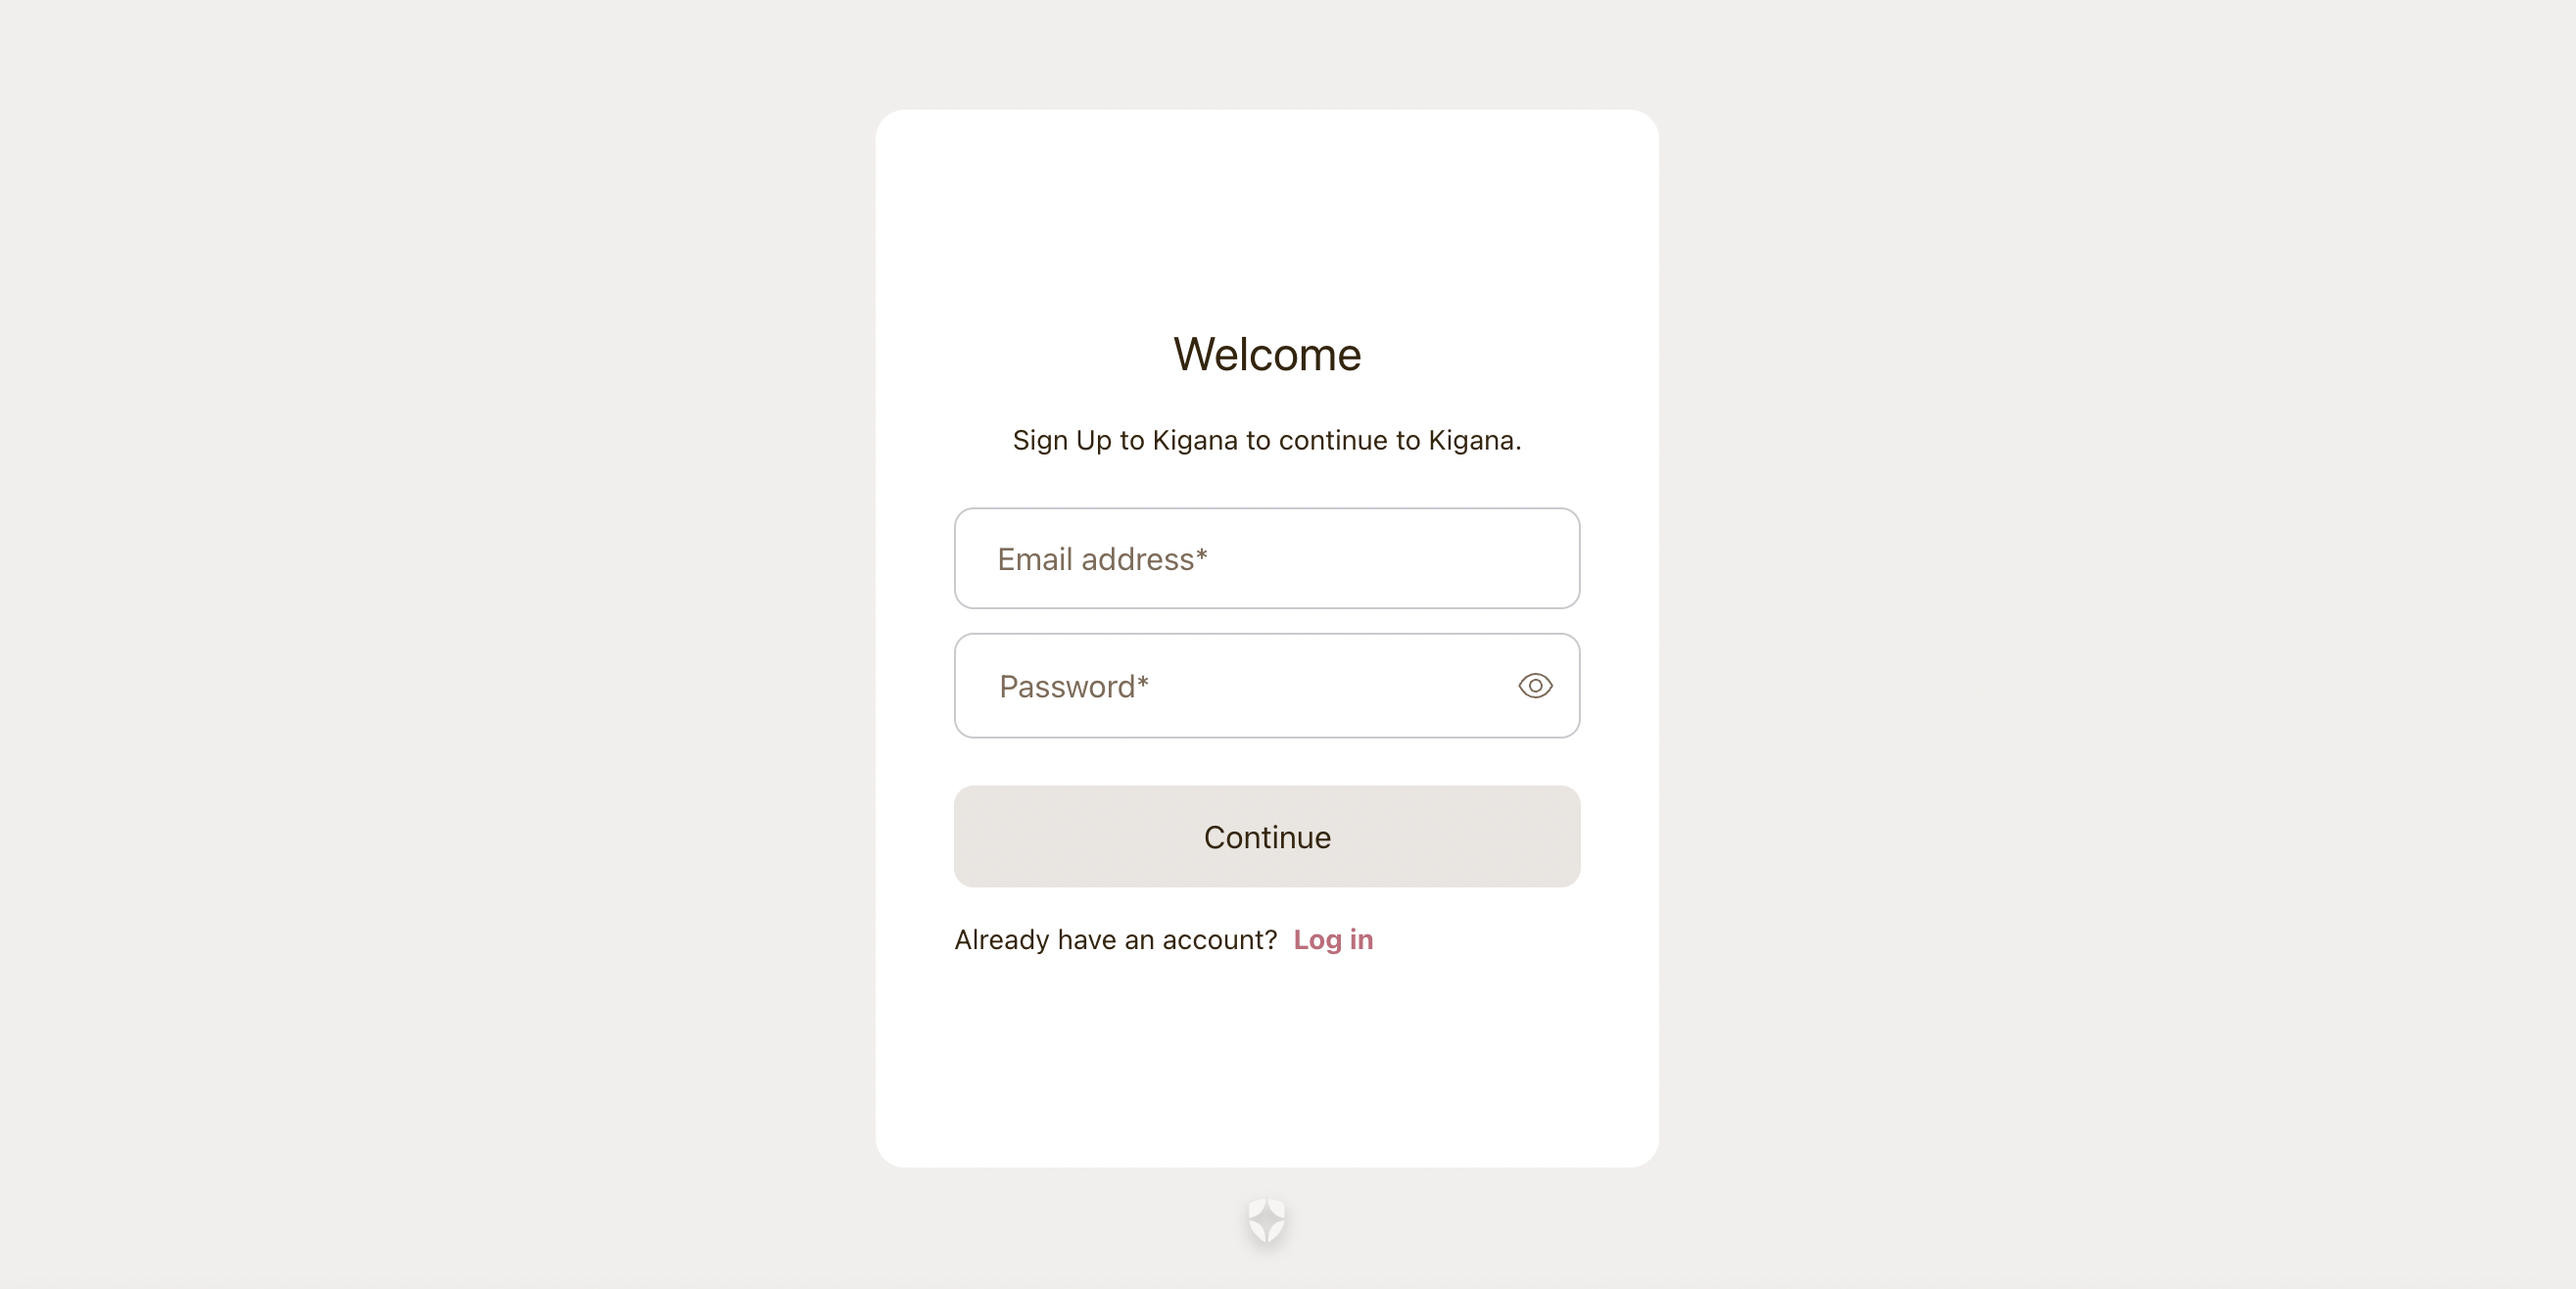
On the account creation page, you will find a form requesting certain information. This information is necessary to set up your Kigana account. The required fields typically include:
- Email address: Provide a valid email address that you have access to. This will be your primary method of communication with Kigana.
- Password: Choose a strong, unique password to protect your account. Ensure it meets the specified requirements, such as a minimum character length or the inclusion of special characters.
-
Click "Continue".
-
You will be automatically redirected to the next page where you can join your childcare center by invite code.
Step 5: Verification and Confirmation
- To ensure the security of your account and email address, Kigana may require verification.
- Check the email address you provided during the registration process for a verification email from Kigana.
- Open the email and click on the verification link provided.
- This will confirm your account and complete the registration process.
Creating an Account on the Web Browser
Step 1: Access the Kigana Website
- Open your preferred web browser (e.g., Chrome, Firefox, Safari).
- In the address bar, type in "https://kigana.com" and press Enter.
- You will be directed to the Kigana homepage.
Step 2: Navigate to the Account Creation Page
- On the Kigana homepage, locate and click on the "Sign Up" or "Get Started" button. It is usually prominently displayed on the page.
- You will be redirected to the account creation page.
Step 3: Fill in your Login Information
-
On the account creation page, you will find a form requesting certain information. This information is necessary to set up your Kigana account. The required fields typically include:
- Email address: Provide a valid email address that you have access to. This will be your primary method of communication with Kigana.
- Password: Choose a strong, unique password to protect your account. Ensure it meets the specified requirements, such as a minimum character length or the inclusion of special characters.
-
Click "Continue".
-
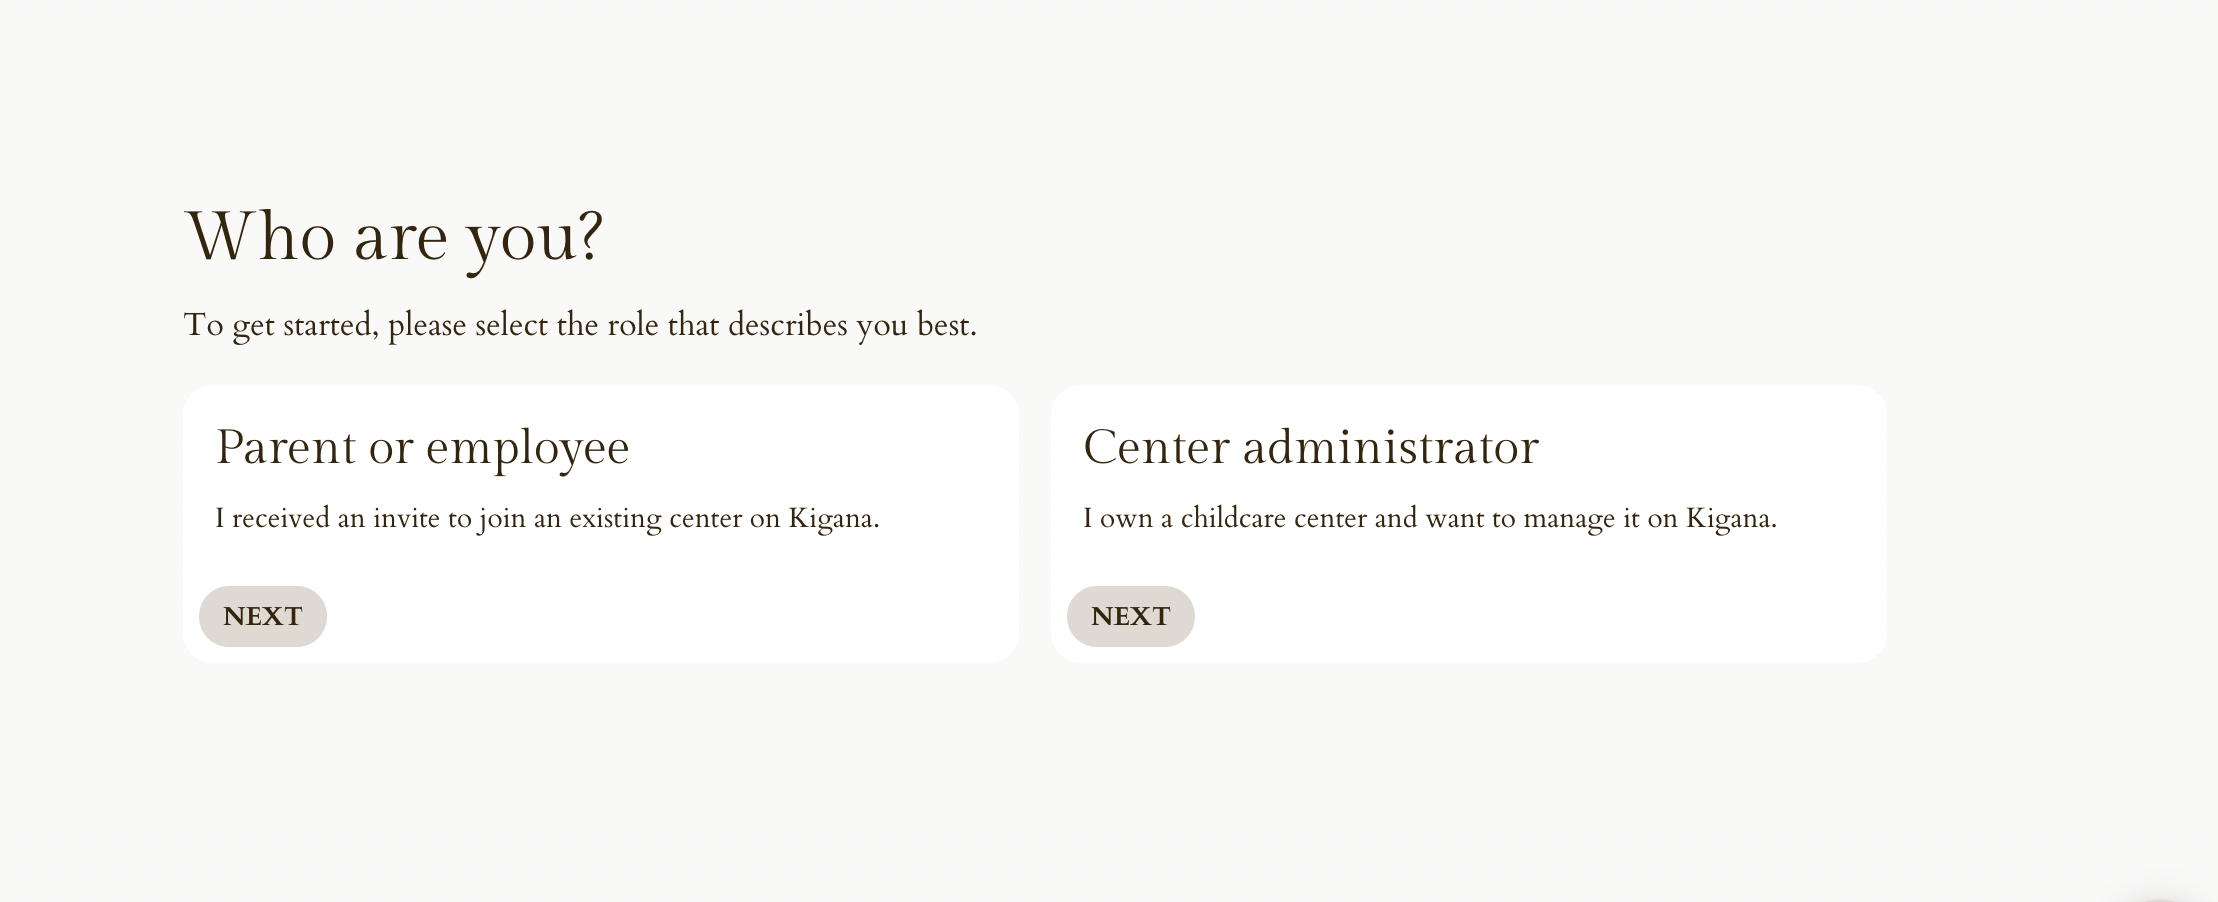
Select "Parent or employee" on the following page when you are asked about your role.
-
Provide additional information about yourself. This information is necessary to set up your Kigana childcare center.The required fields typically include:
- Your full name: Enter your first and last name as per your identification documents.
Step 4: Read and Accept the Terms of Service
- Before proceeding, it is important to review Kigana's Terms of Service and Privacy Policy. These documents outline the terms and conditions of using the platform.
- Click on the links provided to access and read the documents.
- Once you have read and understood the terms, check the box or toggle indicating your acceptance.
Step 5: Complete the Account Creation Process
- After filling in the required information and accepting the terms, click on the "Next" or similar button at the bottom of the page.
- Kigana will validate your information and create your account.
- If all the information provided is accurate, you will be successfully registered on Kigana.
- You will be automatically redirected to the next screen where you can use an invite code to join your childcare center.
Step 6: Verification and Confirmation
- To ensure the security of your account and email address, Kigana may require verification.
- Check the email address you provided during the registration process for a verification email from Kigana.
- Open the email and click on the verification link provided.
- This will confirm your account and complete the registration process.
Conclustion
Congratulations! You have successfully created an account on Kigana, the childcare management platform. Whether you created your account on a web browser or the Android and iOS apps, you can now enjoy the convenience of communicating with your childcare center through Kigana.
If you encounter any issues during the account creation process, don't hesitate to reach out to Kigana support for assistance.